Creating an Application on the LRS
- Admin1 (Unlicensed)
- Admin2 (Unlicensed)
Process Steps
LRS
1.1 Once the fee for an application has been entered using the eFinancials system an application record requires to be created. This section outlines how an application is created on LRS.
Starting LRS
1.2 To open the LRS application double click the LRS desktop icon.
1.3 The LRS case work desk will open.
County selection
1.4 Before any application can be created a county and access permission must first be selected. To select a county click the down arrow next to the “Current Group” field. This will open the “Select Group” screen.
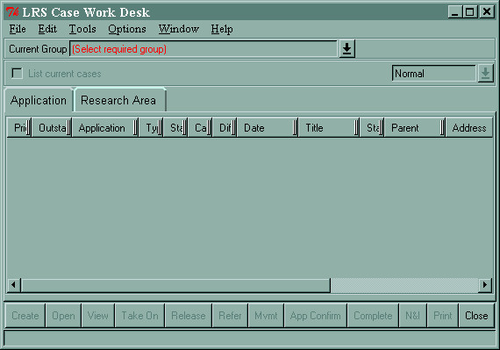
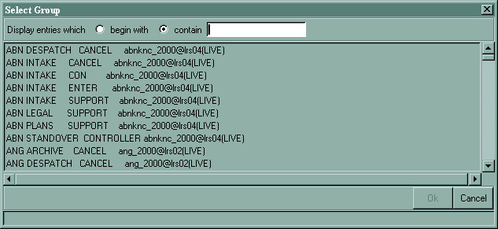
LRS is a county and permission based system. It should be ensured that LRS is set to the correct county and permission for each application created (when creating applications in the same county it is not necessary to repeat the above steps). Any application created in the wrong county will become subject to the procedures laid out in Application Created in Error - Intake Rejection Officer.
1.5 Select either the “begin with” or “contain” option and enter the initials of the county required. The county list will be automatically refined to match the entered criteria and shows a list of available access permissions. Select the correct county and permission (all intake work should be created using “Intake Settle” permissions) from the list and click OK. LRS will now update the case work desk to reflect the selection.
Next: The Casework Desk
Registers of Scotland (RoS) seeks to ensure that the information published in the 2012 Act Registration Manual is up to date and accurate but it may be amended from time to time.
The Manual is an internal document intended for RoS staff only. The information in the Manual does not constitute legal or professional advice and RoS cannot accept any liability for actions arising from its use.
Using this website requires you to accept cookies. More information on cookies.
Feedback